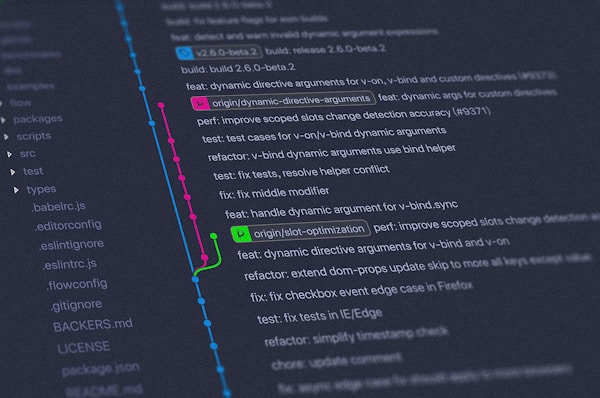
Git is the most essential tool every developer must learn. Whether you're building websites, mobile apps, or AI models — version control with Git is a non-negotiable skill. This beginner-friendly guide walks you through everything from your first commit to collaborating on GitHub like a pro.
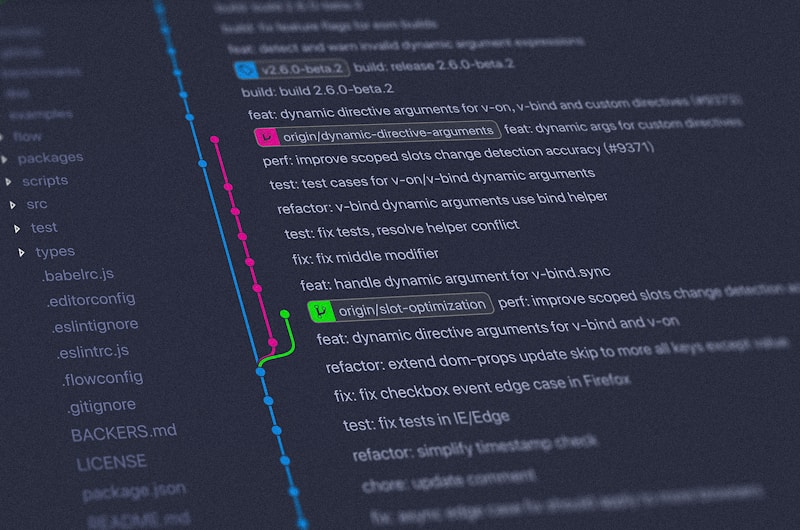
🔧 What is Git?
Git is a free, open-source distributed version control system that tracks changes in your code. It lets you:
- Save snapshots of your project at any point
- Revert to previous versions if something breaks
- Collaborate with other developers without overwriting each other's work
- Work on multiple features simultaneously using branches
📥 Installing Git
# Check if Git is installed
git --version

# Install on macOS (using Homebrew)
brew install git

# Install on Ubuntu/Debian
sudo apt-get install git

# Install on Windows — download from git-scm.com
# Or use: winget install --id Git.Git
⚙️ First-Time Setup
# Configure your identity (required before first commit)
git config --global user.name "Your Name"
git config --global user.email "you@example.com"

# Set default branch name to 'main'
git config --global init.defaultBranch main

# Verify your settings
git config --list
🚀 Your First Repository
# Create a new project folder
mkdir my-first-project
cd my-first-project

# Initialize a Git repository
git init

# Create a file
echo "# My First Project" > README.md

# Stage the file (add to tracking)
git add README.md

# Commit (save a snapshot)
git commit -m "Initial commit: add README"

# Check the log
git log --oneline
🌿 Branching — Work on Features Safely
Branches let you work on new features without affecting the main codebase.
# Create and switch to a new branch
git checkout -b feature/login-page

# Make changes, then stage and commit
git add .
git commit -m "Add login page UI"

# Switch back to main
git checkout main

# Merge the feature branch into main
git merge feature/login-page

# Delete the branch after merging
git branch -d feature/login-page
☁️ Pushing to GitHub
# Create a repo on github.com first, then:
git remote add origin https://github.com/username/my-project.git

# Push your code
git push -u origin main

# For subsequent pushes
git push
🤝 Collaboration Workflow (Pull Requests)
| Step | Command / Action |
|---|---|
| 1. Fork the repo | Click "Fork" on GitHub |
| 2. Clone your fork | git clone URL |
| 3. Create a branch | git checkout -b fix/bug-123 |
| 4. Make changes & commit | git add . && git commit -m "Fix bug" |
| 5. Push to your fork | git push origin fix/bug-123 |
| 6. Open Pull Request | Click "New Pull Request" on GitHub |
⚔️ Resolving Merge Conflicts
# When Git can't auto-merge, you'll see conflict markers:
<<<<<<< HEAD
  console.log("Hello from main");
=======
  console.log("Hello from feature branch");
>>>>>>> feature/new-greeting

# Fix by choosing the correct code, then:
git add .
git commit -m "Resolve merge conflict"
📋 Essential Git Commands Cheat Sheet
| Command | What It Does |
|---|---|
git status | See changed/staged files |
git diff | See exact changes in files |
git stash | Temporarily save uncommitted changes |
git log --oneline --graph | Visual branch history |
git reset --hard HEAD~1 | Undo last commit (destructive) |
git revert HEAD | Undo last commit (safe) |
🎯 Pro Tip for Beginners: Use
git status before every commit. Write meaningful commit messages like "Add user login form" instead of "update". Your future self will thank you!